
6 January, 2023
No Knead Seeded Oat Bread
No Knead Seeded Oat Bread

Notes
This seeded oat bread is crusty on the outside, chewy on the inside, and has the most delicious crunch in every bite, thanks to all the seeds. This is a hearty loaf that can stand up to any meal, from thick and chunky stews to delicate poached eggs. You’ll use an easy no-knead method to make this yeast bread, which produces a beautiful homemade loaf with minimal hands-on work.
Here’s why it’s so simple:
- Absolutely no kneading
- Zero complicated shaping
- No mixer required
- 90% of the time is totally hands off
- Dough can rest in the refrigerator for up to 3 days—a great make-ahead recipe
- Can bake in a dutch oven or on a baking sheet
- Bread Flour: While you could use all-purpose flour in this recipe, I strongly recommend using bread flour. Bread flour produces a stronger, chewier bread, and that makes a big difference in an artisan-style loaf like this oat bread.
- Oats: Oats provide a little wholesome texture. As the dough rises, the oats soak up some moisture and expand. Whole rolled oats are best, but you can use quick oats if needed.
- Salt: I recommend using coarse sea salt because I find the bread’s flavor lacking with regular table salt.
- Instant Yeast: I always use Platinum Yeast by Red Star, which is an instant yeast (aka “quick rise” yeast). 2 teaspoons is a little less than 1 standard packet. (If using active dry yeast, there are no changes needed to the recipe. The rise time may just take slightly longer.)
- Seeds: Pumpkin, sunflower, and flax seeds are all highly nutritious—they’re pretty much superfoods. I love that these 3 types of seeds vary so much in size and texture, but if you’d like to change up the types of seeds in this mixture, go for it. You can also substitute dried cranberries combined with walnuts for another version of this recipe.
- Honey: Honey helps give this bread a springy, spongey texture. It also adds a little sweetness, but we’re using half as much honey here than in my honey oat bread recipe, so the bread isn’t super sweet.
- Water: You’ll also need a little warm water to bring all the ingredients together. I use cool, room temperature water
Ingredients
- 3 cups (390g) bread flour (spoon & leveled), plus more as needed for shaping and pan
- 2 teaspoons (about 6g) Platinum Yeast from Red Star instant yeast
- 1 cup (85g) old-fashioned whole rolled oats
- 1/4 cup (30g) unsalted pumpkin seeds (pepitas)
- 1/4 cup (30g) salted or unsalted sunflower seeds
- 2 Tablespoons (18g) flax seeds poppy seeds, or sesame seeds
- 2 teaspoons coarse salt
- 2 Tablespoons (42g) honey
- 1 and 1/2 cups (360ml) warm water (about 95°F (35°C))
- optional: cornmeal for dusting pan
Topping
- 1 Tablespoon (5g) old-fashioned whole rolled oats
- 1 Tablespoon (8g) pumpkin seeds (pepitas)
- 1 Tablespoon (8g) sunflower seeds
- 1 teaspoon flax seeds, poppy seeds, or sesame seeds
Instructions
- In a large un-greased mixing bowl, whisk the flour and yeast together. Add the oats, pumpkin seeds, sunflower seeds, flax seeds, and salt and whisk to combine.
- Mix the honey and water together, and then pour over the dry ingredients. Using a rubber spatula or wooden spoon, gently mix together. The dough will seem dry and shaggy, but keep working it until all the flour is moistened. If needed, use your hands to work the dough ingredients together. The dough will be very sticky. Shape into a ball in the bowl as best you can. (Tip: Stir dough by hand. Dough is too sticky for a mixer.)
- Keeping the dough in the bowl, cover the dough tightly with plastic wrap or aluminum foil and set on the counter at room temperature (honestly any normal room temperature is fine). Allow to rise for 3 hours. The dough will just about double in size, stick to the sides of the bowl, and have a lot of air bubbles.
- You can continue with step 5 immediately, but for absolute best flavor and texture, I strongly recommend letting this risen dough rest in the refrigerator for at least 12 hours and up to 3 days. (Even just a couple hours is good!) Place covered dough in the refrigerator for up to 3 days. The dough will puff up during this time, but may begin to deflate after 2 days. That’s normal and nothing to worry about.
- Lightly dust a large nonstick baking sheet (with or without rims, and make sure it’s nonstick) with a little flour and/or cornmeal. Using generously floured hands and gentle pressure so as to not deflate the dough too much, shape the risen dough into a ball. (I just do this right inside the bowl it’s in, or you can do this on a lightly floured work surface.) Dough is very sticky.
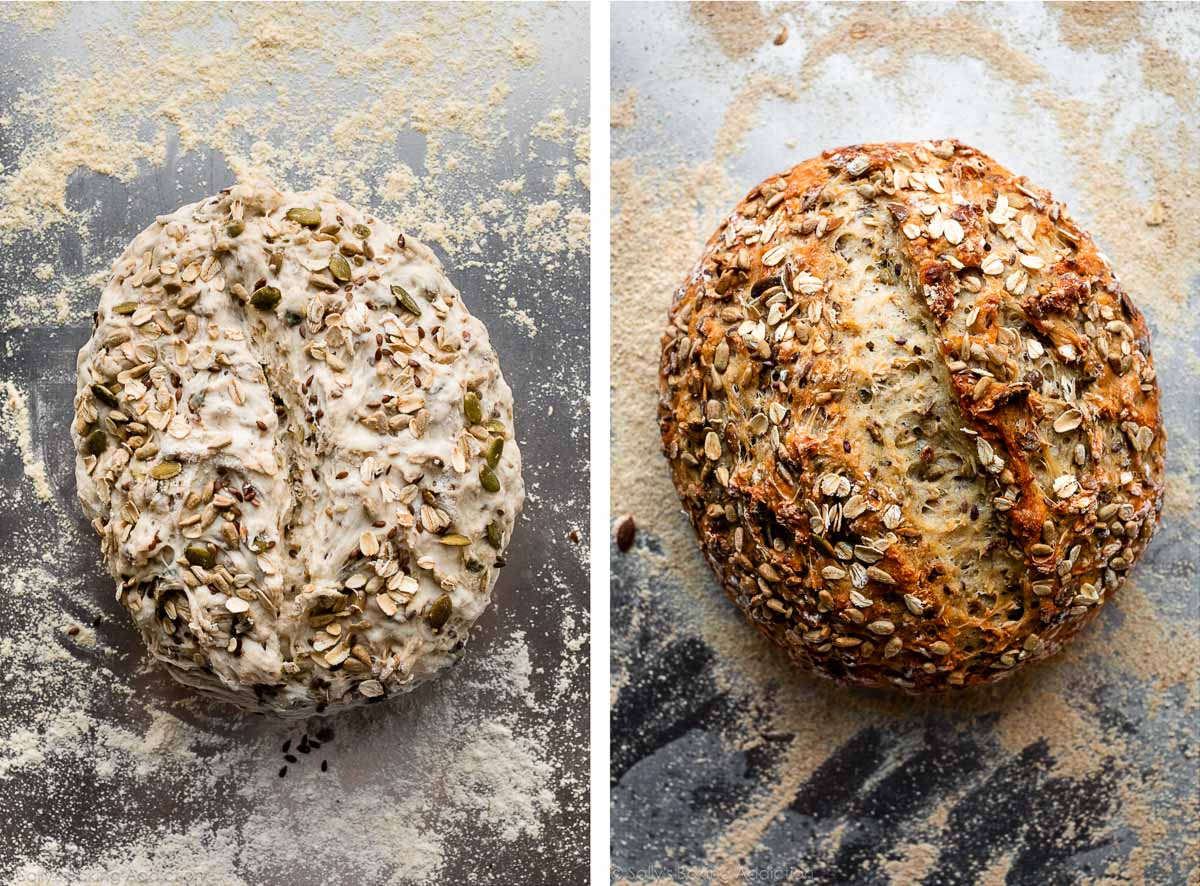
- Transfer ball to prepared baking sheet. Mix topping ingredients together. Sprinkle on top of dough, and if the seeds aren’t sticking, press them into the dough as best you can. Loosely cover and allow dough to rest for 45 minutes. You will bake the dough on this prepared baking sheet. See recipe note if you want to use a pizza stone or dutch oven.
- During this 45 minutes, preheat the oven to 425°F (218°C).
- When ready to bake, using a very sharp knife or bread lame (you could even use kitchen shears), score the dough with a slash or X about 1/2 inch deep. (“Score” = shallow cut.) If the shaped loaf flattened out during the 45 minutes, use floured hands to reshape.
- Place the shaped and scored dough (on the flour/cornmeal-dusted pan) in the preheated oven on the center rack.
- Optional for a slightly crispier crust: Place a shallow metal or cast iron baking pan or skillet (I usually use a metal 9×13-inch baking pan) on the bottom oven rack. Carefully and quickly pour 3–4 cups of boiling water into the shallow pan. Quickly shut the oven to trap as much steam inside. The steam helps create a crispier crust.
- Bake for 40 minutes or until the crust is golden brown. If you notice the exterior browning too quickly, tent the bread with aluminum foil. How to test for doneness: Give the warm bread a light tap. If it sounds hollow, it’s done. For a more accurate test, the bread is done when an instant read thermometer reads the center of the loaf as 195°F (90°C).
- Remove the bread from the oven and allow to cool for at least 10–20 minutes before slicing and serving. Store leftovers loosely covered at room temperature for up to 3 days or in the refrigerator for up to 10 days.
Category
Breads
Vegetarian